How to add a printer in macOS Monterey
This article explains how to install and add your Epson printer when using macOS Monterey.
- Visit the following website from the computer you want to connect to the printer and then enter the products name.
http://epson.sn - Go to Setup.
- Click Download to download the installer.
- Double-click the following icon:

After the product has been installed, add the printer to your Mac by following the steps below:
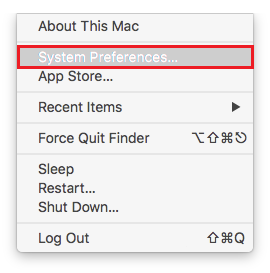
- Click the
 Apple menu and select System Preferences.
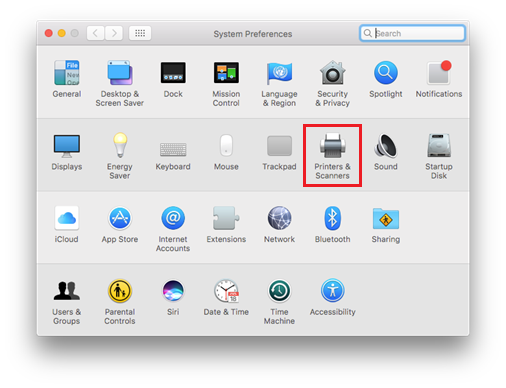
- Click Printers & Scanners.
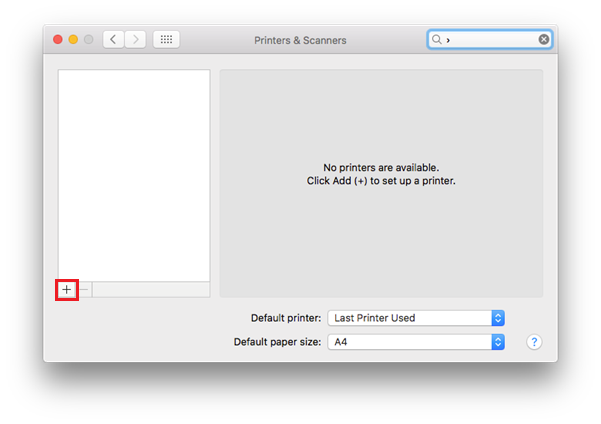
- Printers & Scanners will appear blank if you have no other printers installed. Click the
 button to start adding a printer.
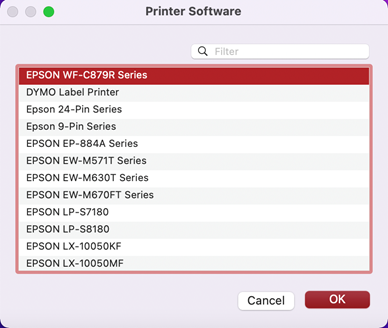
- Click Select Software.
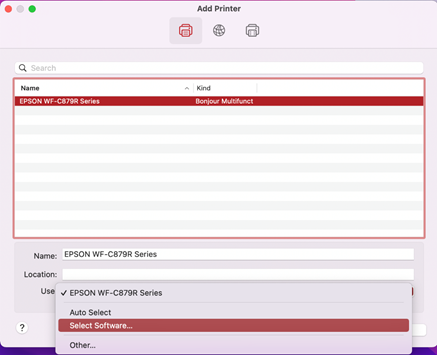
- Click on the required Epson printer and select OK.